Setting up a WPS-compatible printer on your network can be a breeze with the right steps. Whether you're new to the process or seeking a quick refresher, this guide will walk you through the seamless integration of your printer into your network using your Mac's AirPort Utility app.
1. Open AirPort Utility:
Launch the AirPort Utility app on your Mac. You can find it in the Utilities folder within the Applications folder.
2. Access Base Station Settings:
In the graphical overview, select your base station, and click "Edit." If prompted, enter the password for the base station.
3. Choose Base Station > Add WPS Printer:
Navigate to "Base Station" and select "Add WPS Printer."
4. Select WPS Method:
Choose how you want to add the printer to the network:
Select "PIN" to enter the eight-digit number for the printer requesting network access.
Choose "First attempt" to grant network access to the first printer attempting to join the network.
5. System Settings on Mac:
Open Apple menu > System Settings on your Mac.
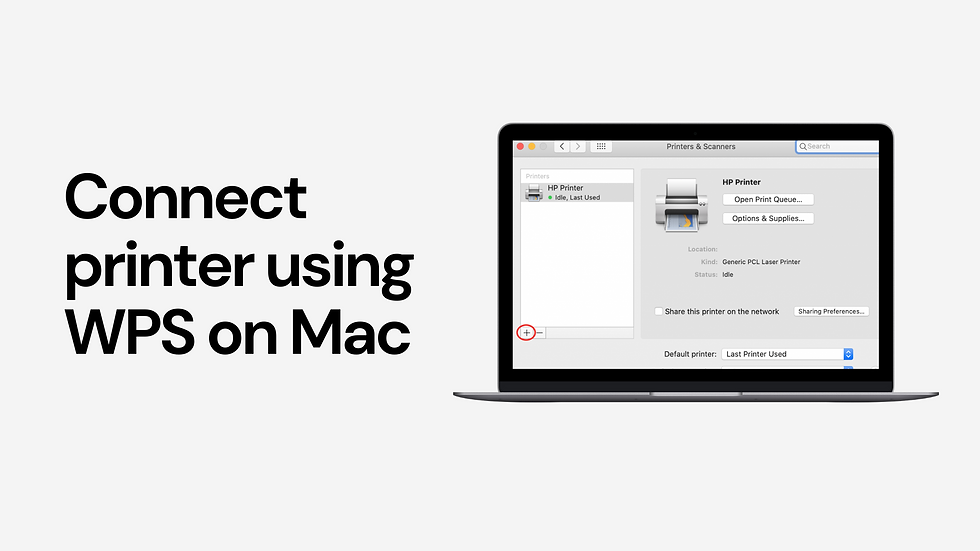
Click on "Printers & Scanners" in the sidebar. Scroll down if necessary.
6. Add Your Printer:
Select your printer on the right. If it's not listed, click the "Add Printers, Scanners, or Fax" button, then add your printer.
7. Post-Connection Setup:
After the printer is successfully connected to the network, you can easily locate and choose it in the Printers & Scanners settings of System Settings.
By following these straightforward steps, you'll have your WPS-compatible printer seamlessly integrated into your network in no time. Enjoy the convenience of hassle-free printing as your Mac communicates effortlessly with your newly connected printer.
Comments